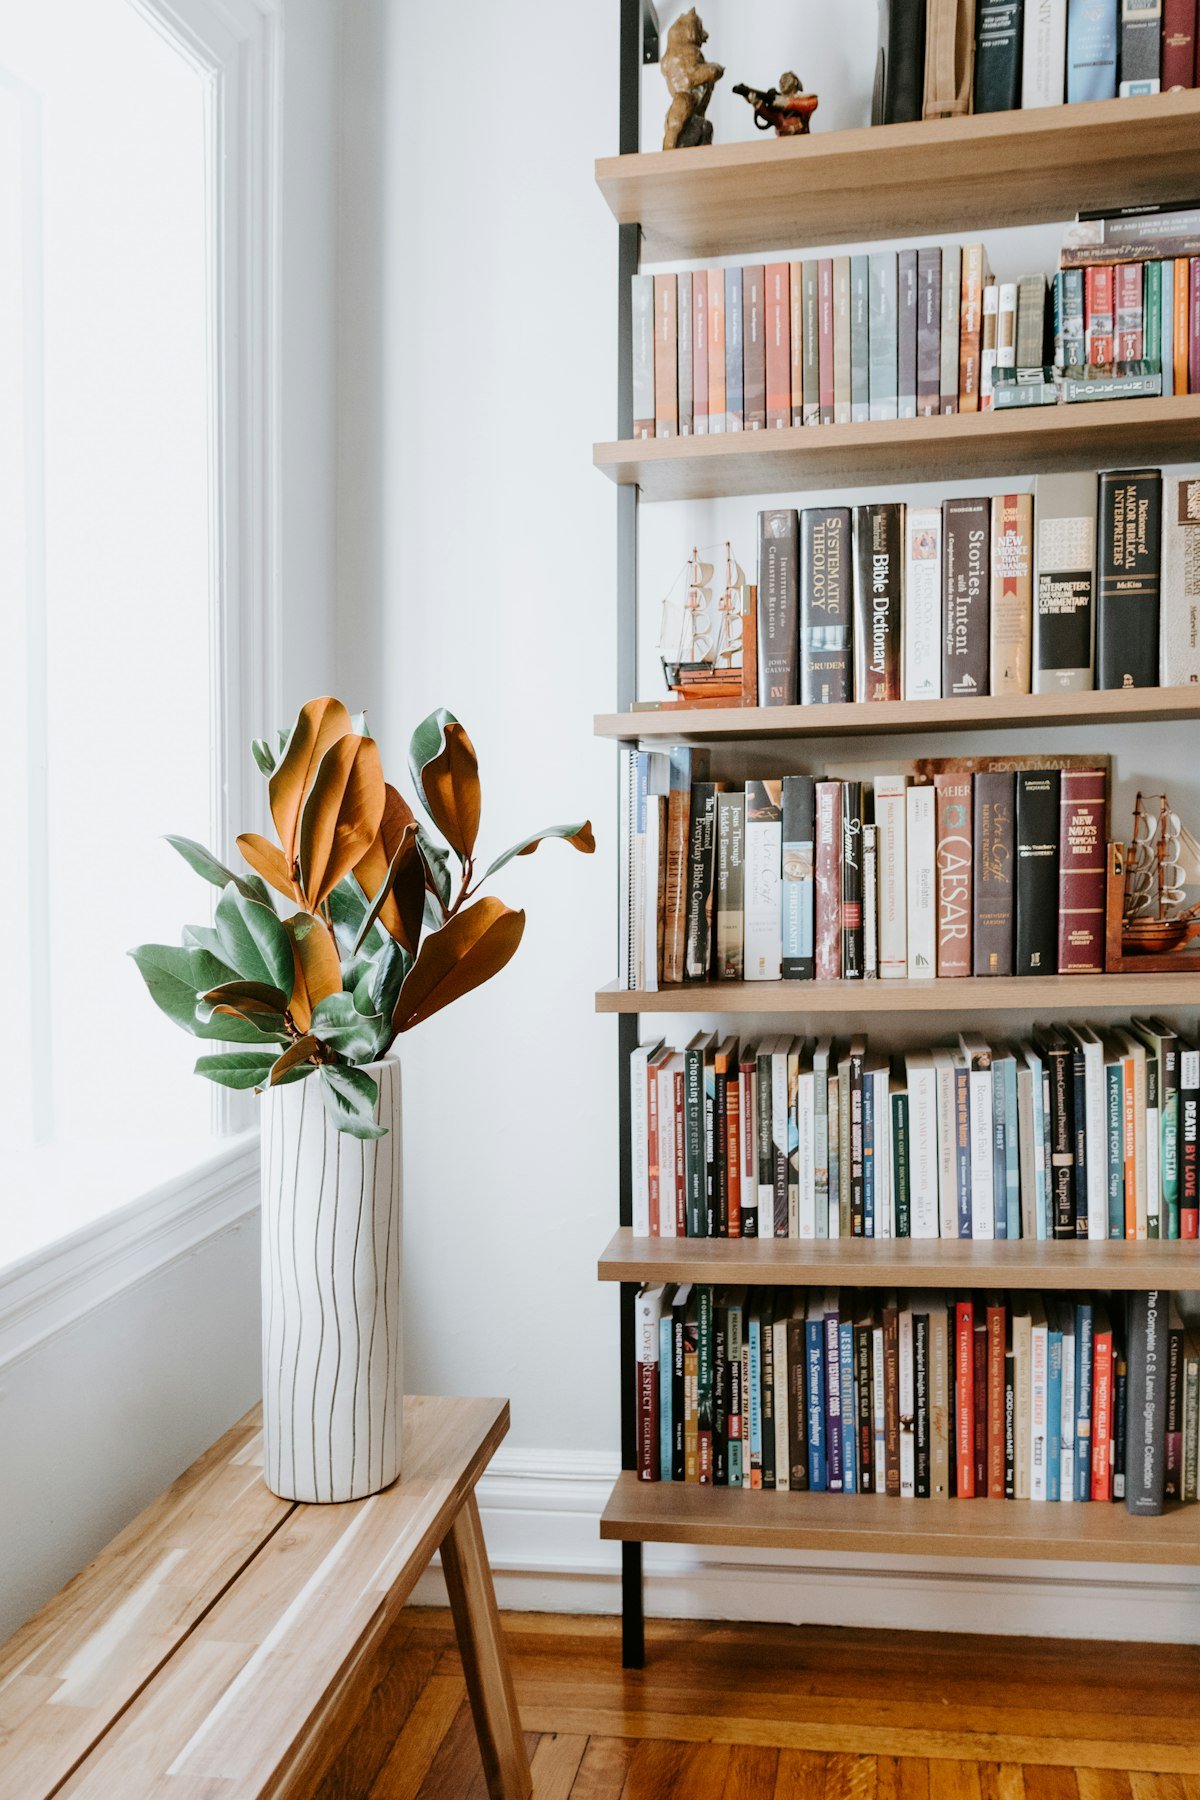
How to Style a Bookshelf Like a Designer (in 6 Simple Steps)
You know those bookshelves in magazine spreads that look effortlessly collected — like the owner just happens to be interesting? Those shelves are not accidents. They follow a repeatable formula, and once you learn it you can never unsee it. Here’s how to style a bookshelf like a designer in six simple steps, using only things you already own. Budget required: zero. Time required: one very satisfying hour.
Step 1: Take Everything Off
Yes, everything — books, frames, the mystery cables, the dust. You can’t style a shelf by rearranging clutter; you have to start from empty. Wipe the shelves down while they’re bare. As you unload, make three piles: books you love, decorative objects with potential, and things that secretly live somewhere else (they know who they are). This step is 20 minutes and it’s where half the transformation happens.
Step 2: Bring Books Back in Groups — and Break the Line

Here’s the designer move: don’t reload books in one continuous row. Bring them back in groups of 5–12, and alternate how they sit — one group standing vertically, the next stacked horizontally, the next vertical again. The horizontal stacks act as bookends AND as little pedestals for objects later. Aim to fill only about two-thirds of each shelf with books; the remaining third is where the styling happens.
Step 3: Vary the Heights (the Triangle Trick)
Every beautiful shelf works in triangles: something tall, something medium, something low, arranged so your eye travels in a gentle zigzag rather than a flat line. A tall vase next to a horizontal book stack topped with a small bowl — that’s a triangle. Step back across the room every few minutes and check: if your eye slides straight across a shelf with no ups and downs, add height somewhere. Repeat triangles diagonally across shelves, not directly above each other.
Step 4: Add Something Alive
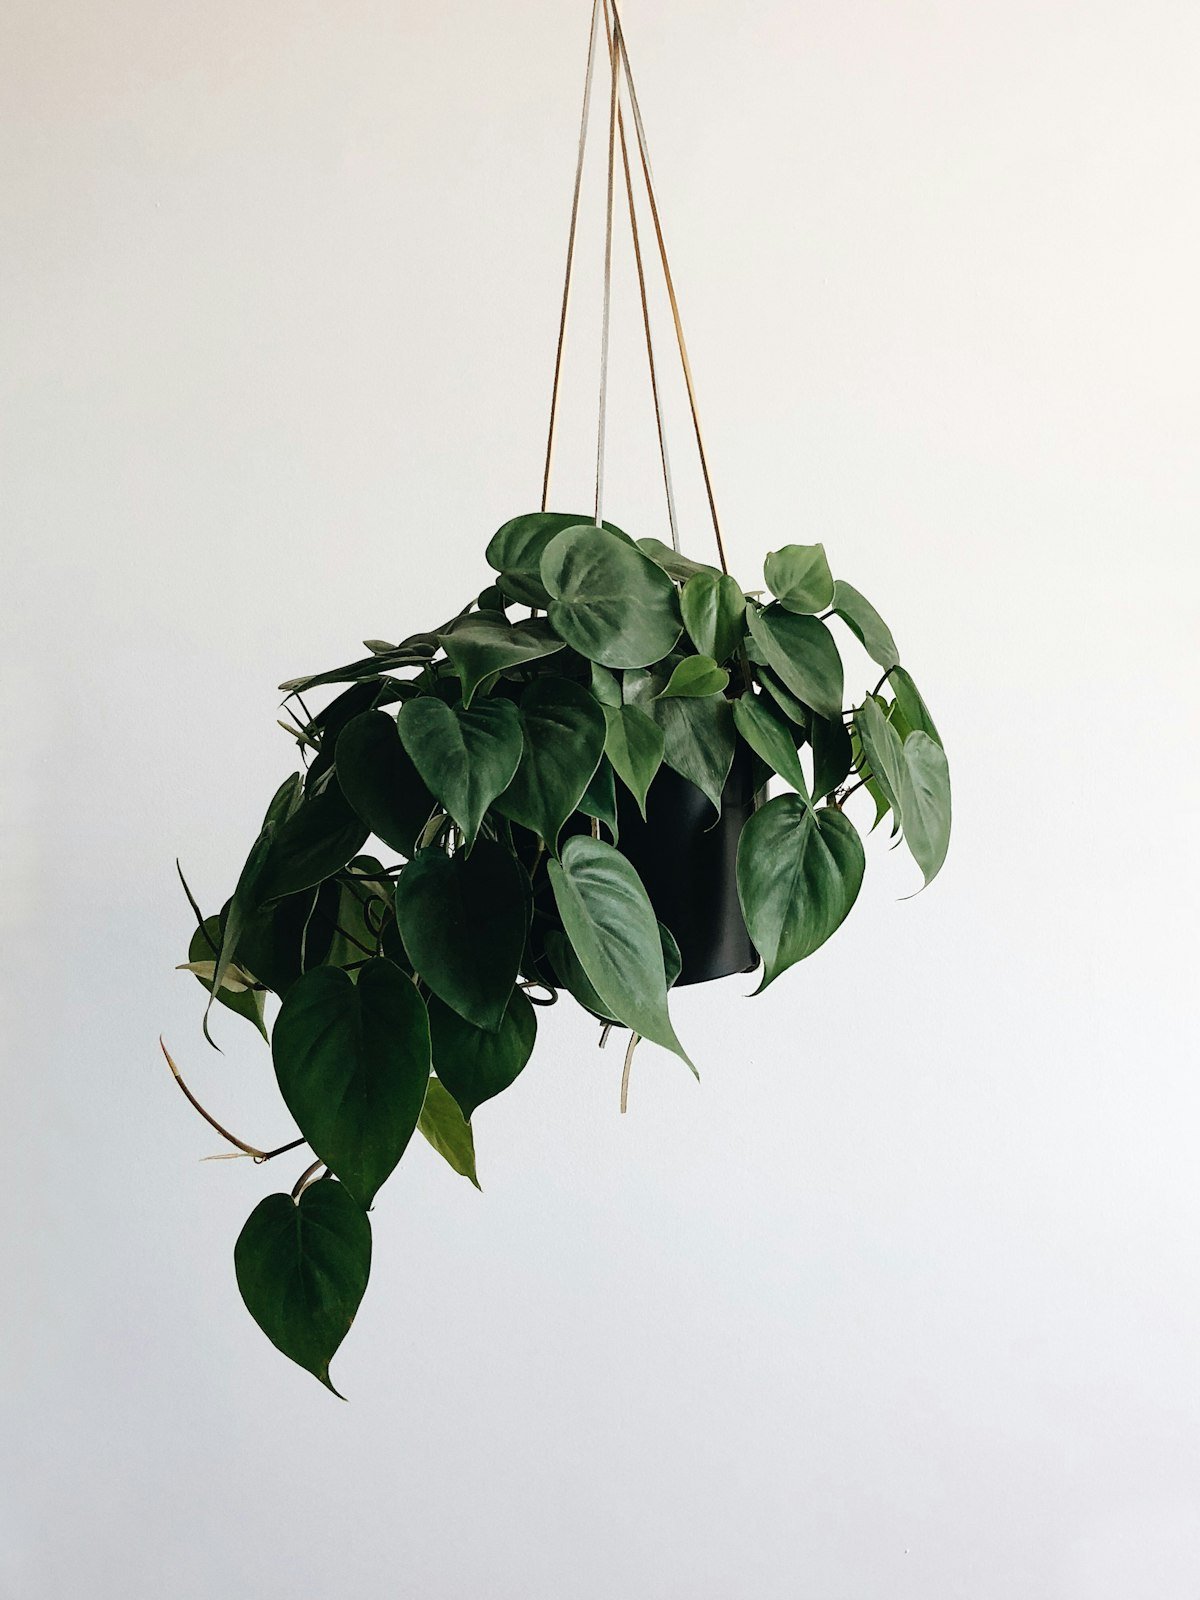
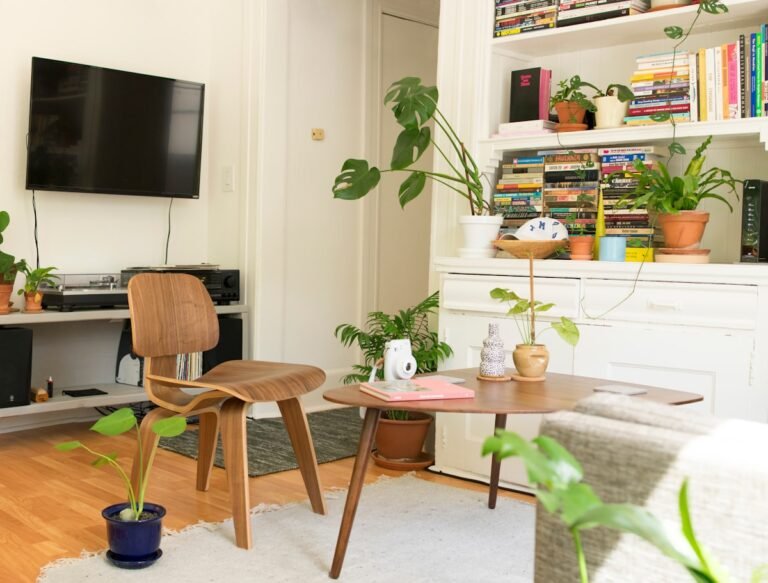
Every designer shelf has at least one living thing — it’s what keeps “styled” from tipping into “staged.” A trailing pothos spilling over a shelf edge is the classic for a reason, but a small snake plant, a jar of cut stems, or even a good faux plant (no shame, the good ones are convincing now) all work. One or two per bookcase is plenty. The green also breaks up the browns and whites that dominate most shelves.
Step 5: Layer in Art and Personal Objects
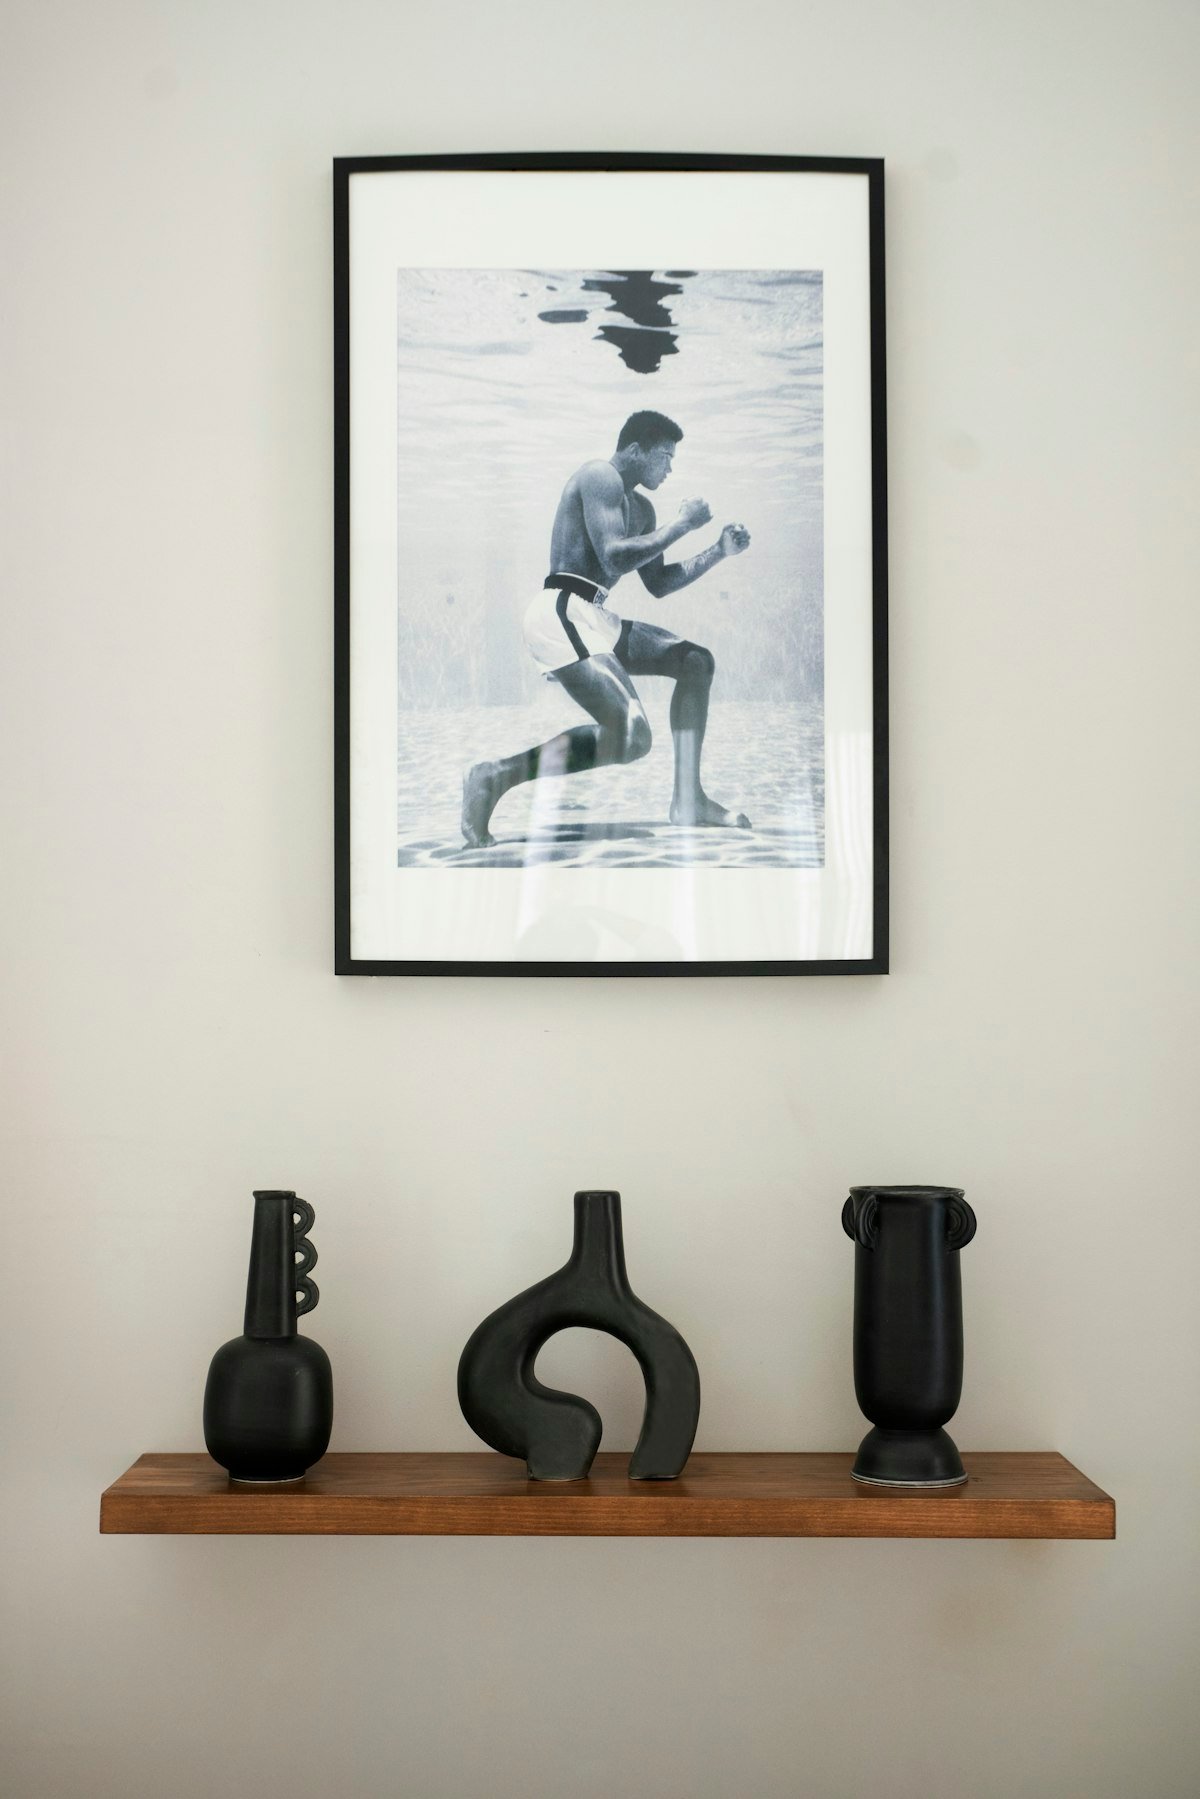
Lean a small framed print or photo against the back of a shelf and let a shorter object overlap it slightly — that overlap is what creates depth, and depth is what makes shelves look expensive. Then add two or three genuinely personal things: the bowl from your honeymoon, a grandparent’s clock, the weird ceramic frog your kid made. Designer shelves impress people; personal shelves interest them. You want both.
Step 6: Leave Breathing Room (the Hardest Step)
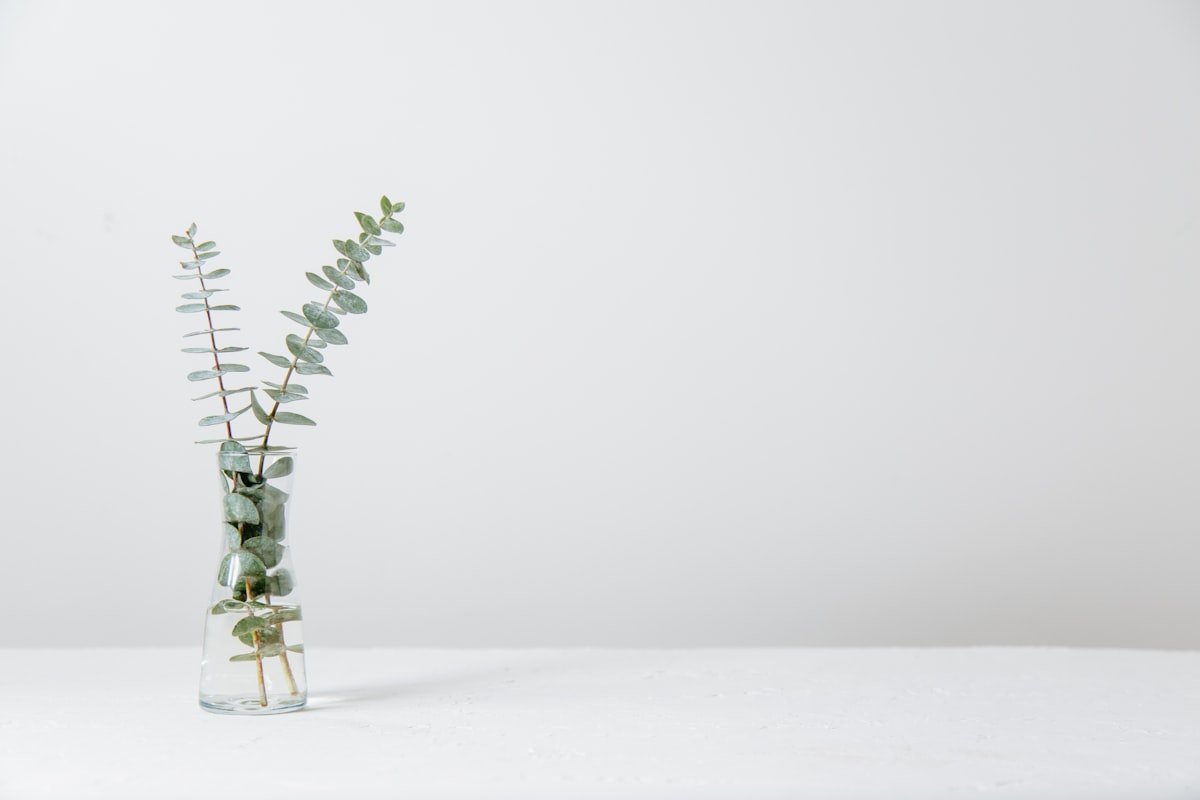
Now stop before you think you’re done. Every shelf needs some visible empty space — designers call it negative space, and it’s the difference between “curated” and “crowded.” If every gap is filled, nothing gets noticed. The confident move is leaving one section of one shelf almost empty: a single object and air. It feels wrong for about a day. Then it feels like the most expensive-looking part of the bookcase.
The Three Mistakes Everyone Makes
Styling flat. Everything the same height in a straight line — no triangles, no eye movement. Fix: stack some books horizontally and put something on top.
Too many tiny objects. Twelve little knickknacks read as clutter from across the room. Fix: keep the three biggest, group two small ones together, and store the rest — you can rotate them seasonally like a tiny museum.
Rainbow-spine chaos. If your shelves feel busy no matter what you do, the book spines are probably shouting. Fix: group books by rough color family (all the warm spines together, all the dark ones together) — calmer instantly, and you still find everything.
Quick Answers Before You Start
Do I need to buy anything? No — the whole method works with what you own. If you catch the styling bug later, thrift stores are the best hunting ground: vases, brass objects, and interesting bookends for a dollar or two each.
What if my shelves are deep? Deep shelves are a gift: push a tall layer to the back, overlap a medium layer in front of it, and you get instant depth. Never line everything up along the front edge like soldiers.
How many objects per shelf? As a starting rule: one horizontal book stack, one vertical group, and one to three objects. If you can’t see shelf surface anywhere, subtract until you can.
Does this work for a tiny three-shelf bookcase? Even better — small bookcases style faster and read as intentional sooner. The triangle trick and breathing room matter more, not less, when space is tight.
One Hour, One Shelf at a Time
Style the middle shelf first — it’s at eye level and gives you the fastest win — then work outward. When you’re done, that bookcase quietly upgrades the whole room, which is exactly the strategy behind my small living room ideas: a few strong moves instead of a full makeover. Want the room around the shelf to feel cozier too? The Home Decor section has you covered. Now go empty that shelf — the hour starts when the dusting cloth comes out.